DIY Rinks
We empower you to create DIY rinks that are perfect for family fun and practice. Our preferred method of building a backyard rink is the liner method, which balances cost and efficiency. When selecting a liner, you have options in thickness and colour; we recommend a 5ML thickness as the most cost-effective choice.
“Hi Center Ice. This is the result of your liner. The kids are having so much fun so far. Thanks”
— George Sturge, Sydney, Nova Scotia
Why Choose a White Liner?
Opting for a white liner provides two significant advantages:
Essential Tools and Materials
Tools: Hammer, power drill, screwdriver, tape measure, level, rake, snow shovel, broom, ice scraper/edger.
Materials: String, boards (minimum 2×8 lumber), stakes (metal or wood), screws, nails, marker or chalk spray, rink liner, and a water source.
Key Requirements for Quality Ice
Hot water is the second essential component for producing perfect, glossy ice. Unlike cold water, which can create bumps and imperfections, hot water flows and freezes evenly, minimizing extra maintenance.
Step-by-Step Guide to Building Your Rink
Site Preparation: Identify the area for your ice rink and clear the surface by leveling the ground, removing obstacles, and ensuring no sharp objects can puncture your liner.
Mark the Perimeter: Use string, markers, or chalk spray to outline the rink’s dimensions, then calculate the materials needed.
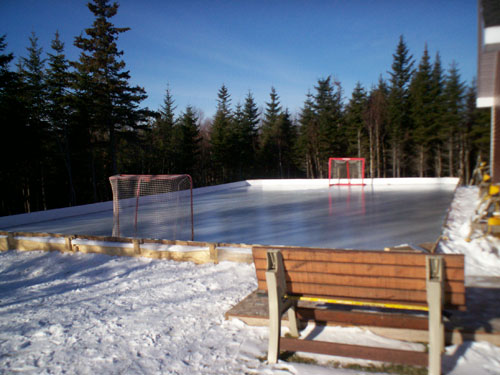
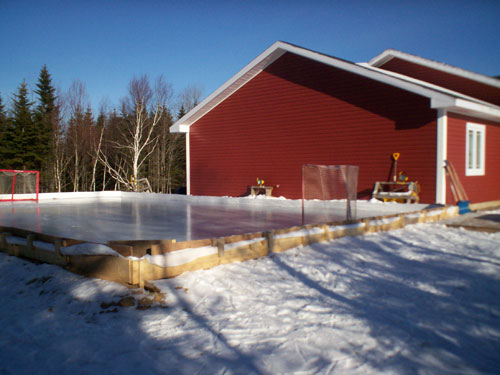
Set Up Side Boards: Lay out the boards for the rink perimeter, ensuring they are 8″-10″ high for effective water containment. Fasten the boards with appropriate hardware and secure them with stakes to maintain structure.
Install the Liner: Lay the liner over the rink, ensuring it is smooth and extends 3-5 feet beyond the boards. Fasten it securely to prevent shifting.
Fill with Water: Gradually fill the liner with water over several days, keeping the ice thickness to no more than 4 inches for optimal conditions.
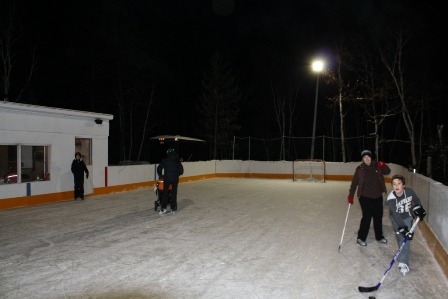
Maintaining Your Backyard Rink
Regular maintenance is essential for a smooth skating surface. This includes:
Reshaping the ice to fill cracks and grooves made by skate blades.
Removing snow, leaves, and any debris promptly.
Scraping and flooding the surface as needed for a smooth finish.
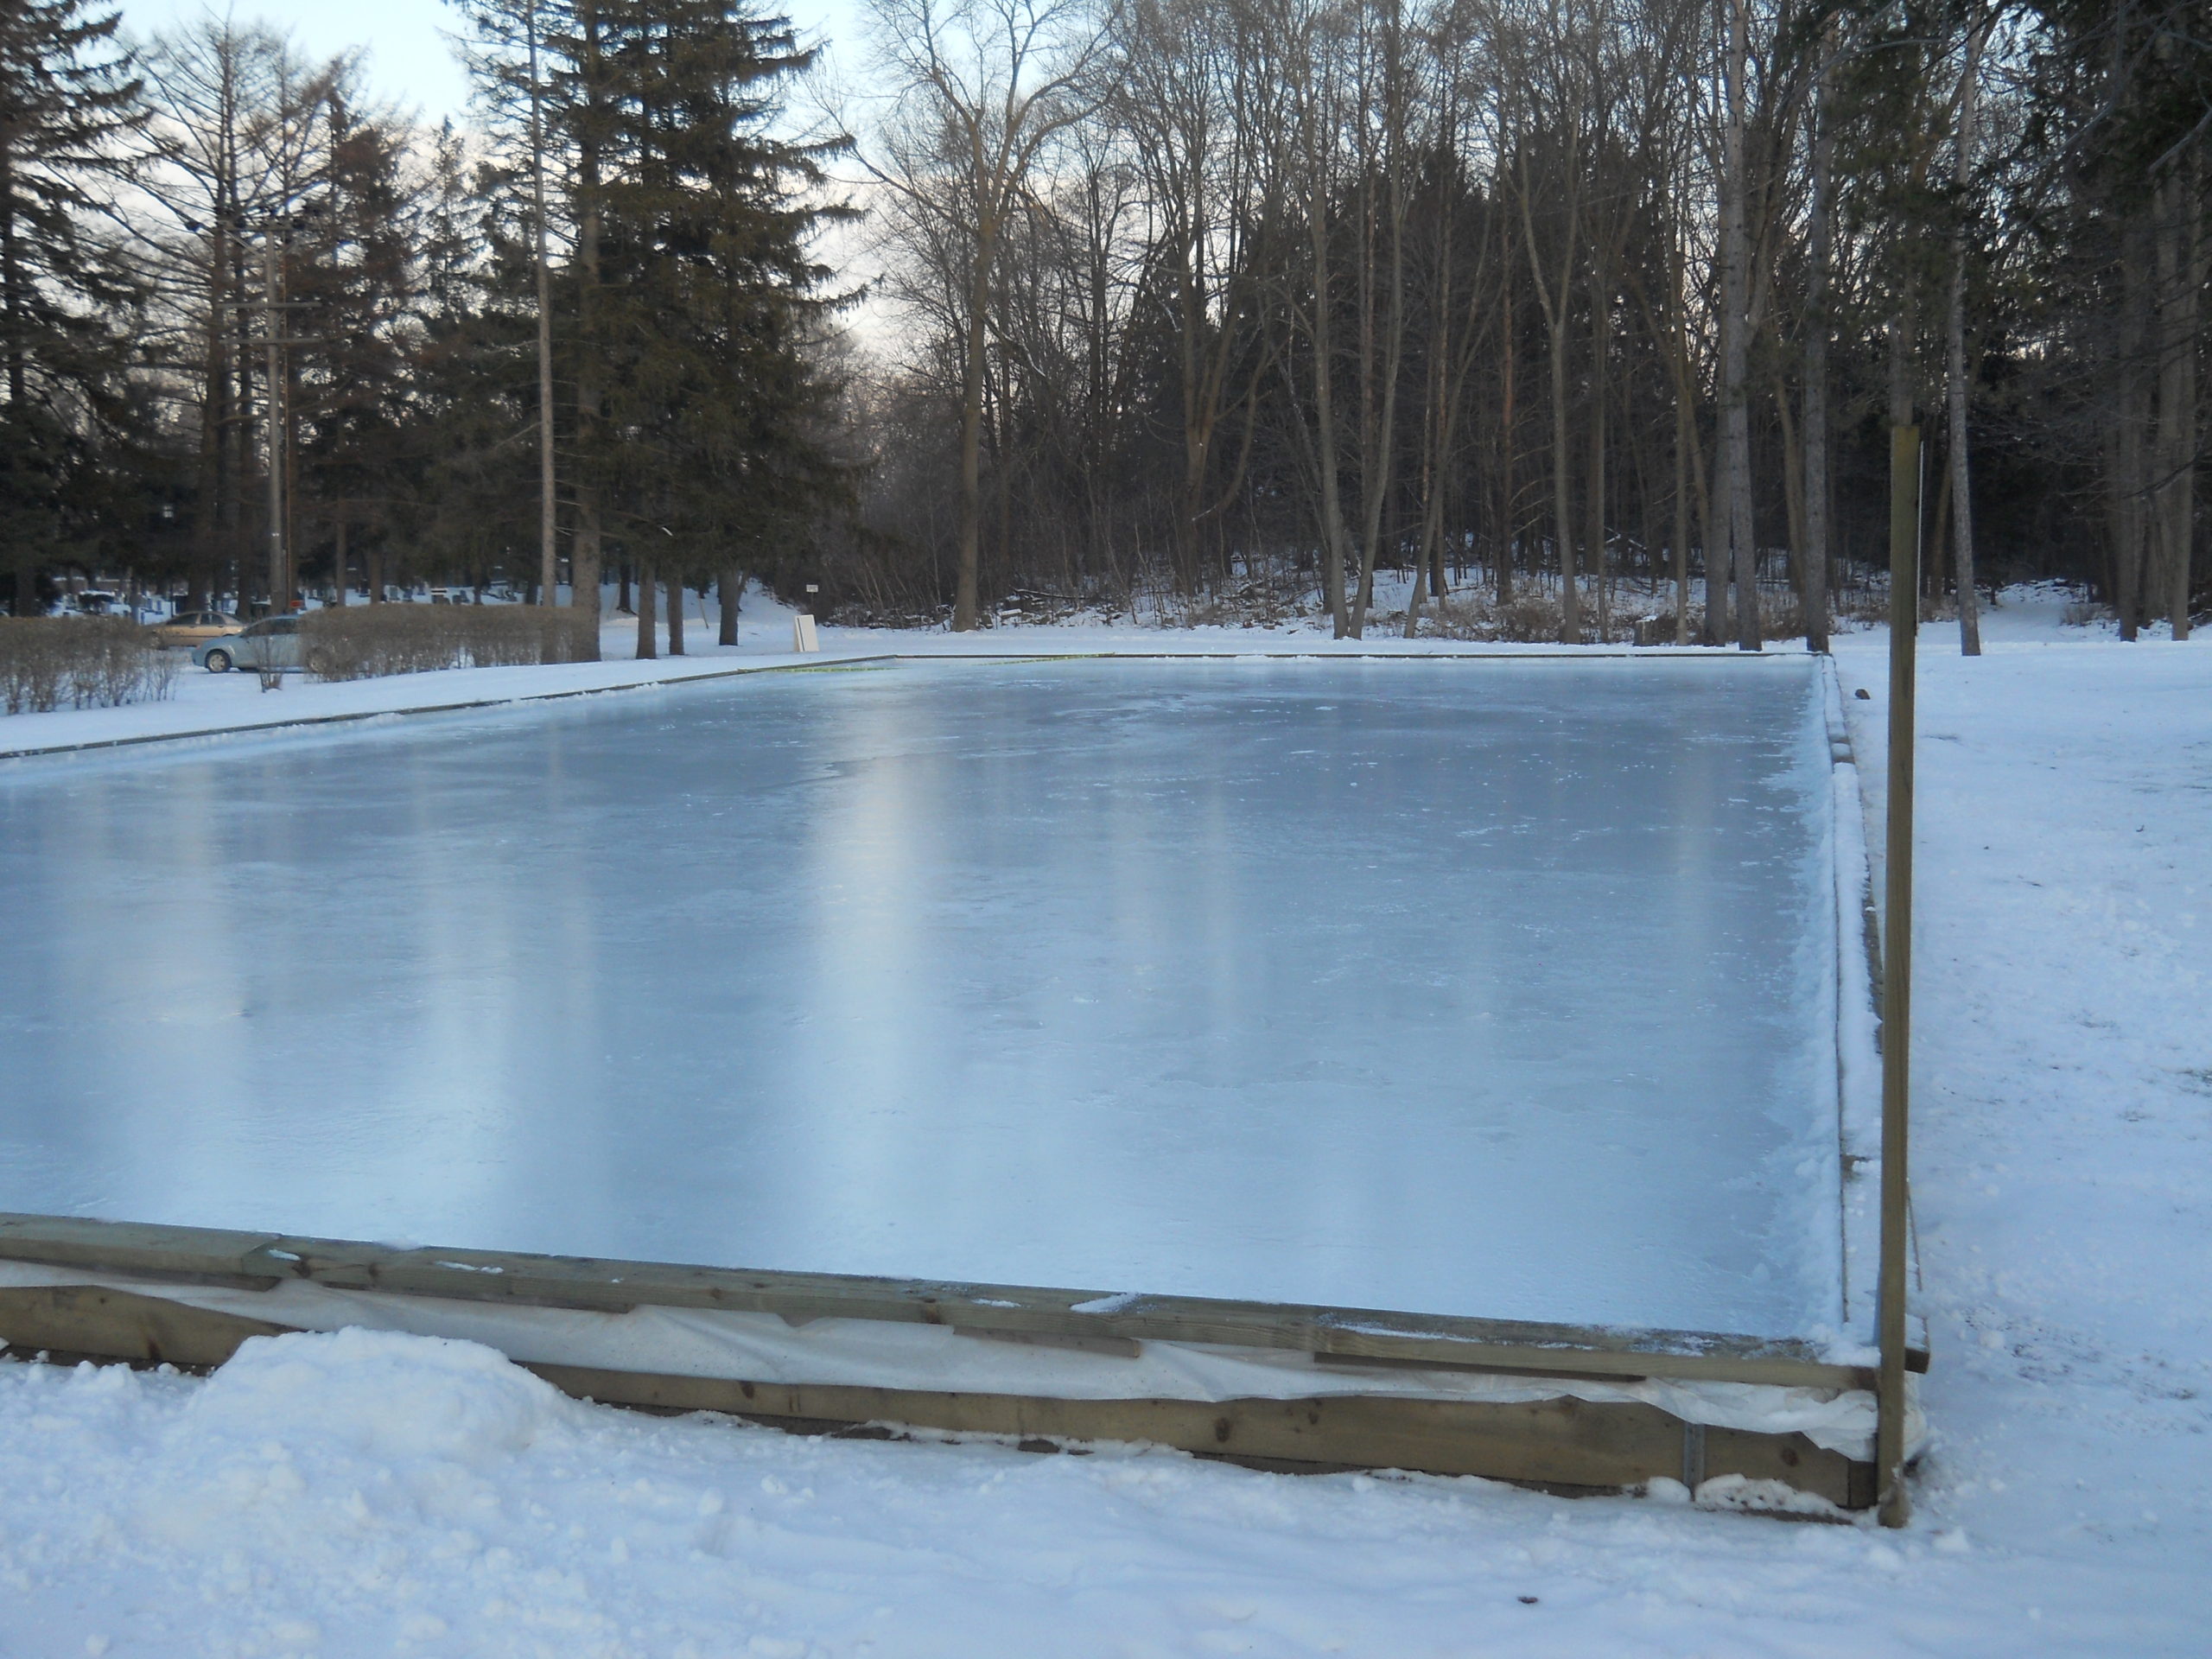
Resurfacing and Flooding Tips
For optimal ice quality, re-flood your rink with hot water, ideally after skating and during the coldest part of the day. If bumps form, use hot water to melt them down and level the surface using a metal trowel. Always clear the ice after skating to maintain its quality.